
 (7 votes, average: 5.00 out of 5)
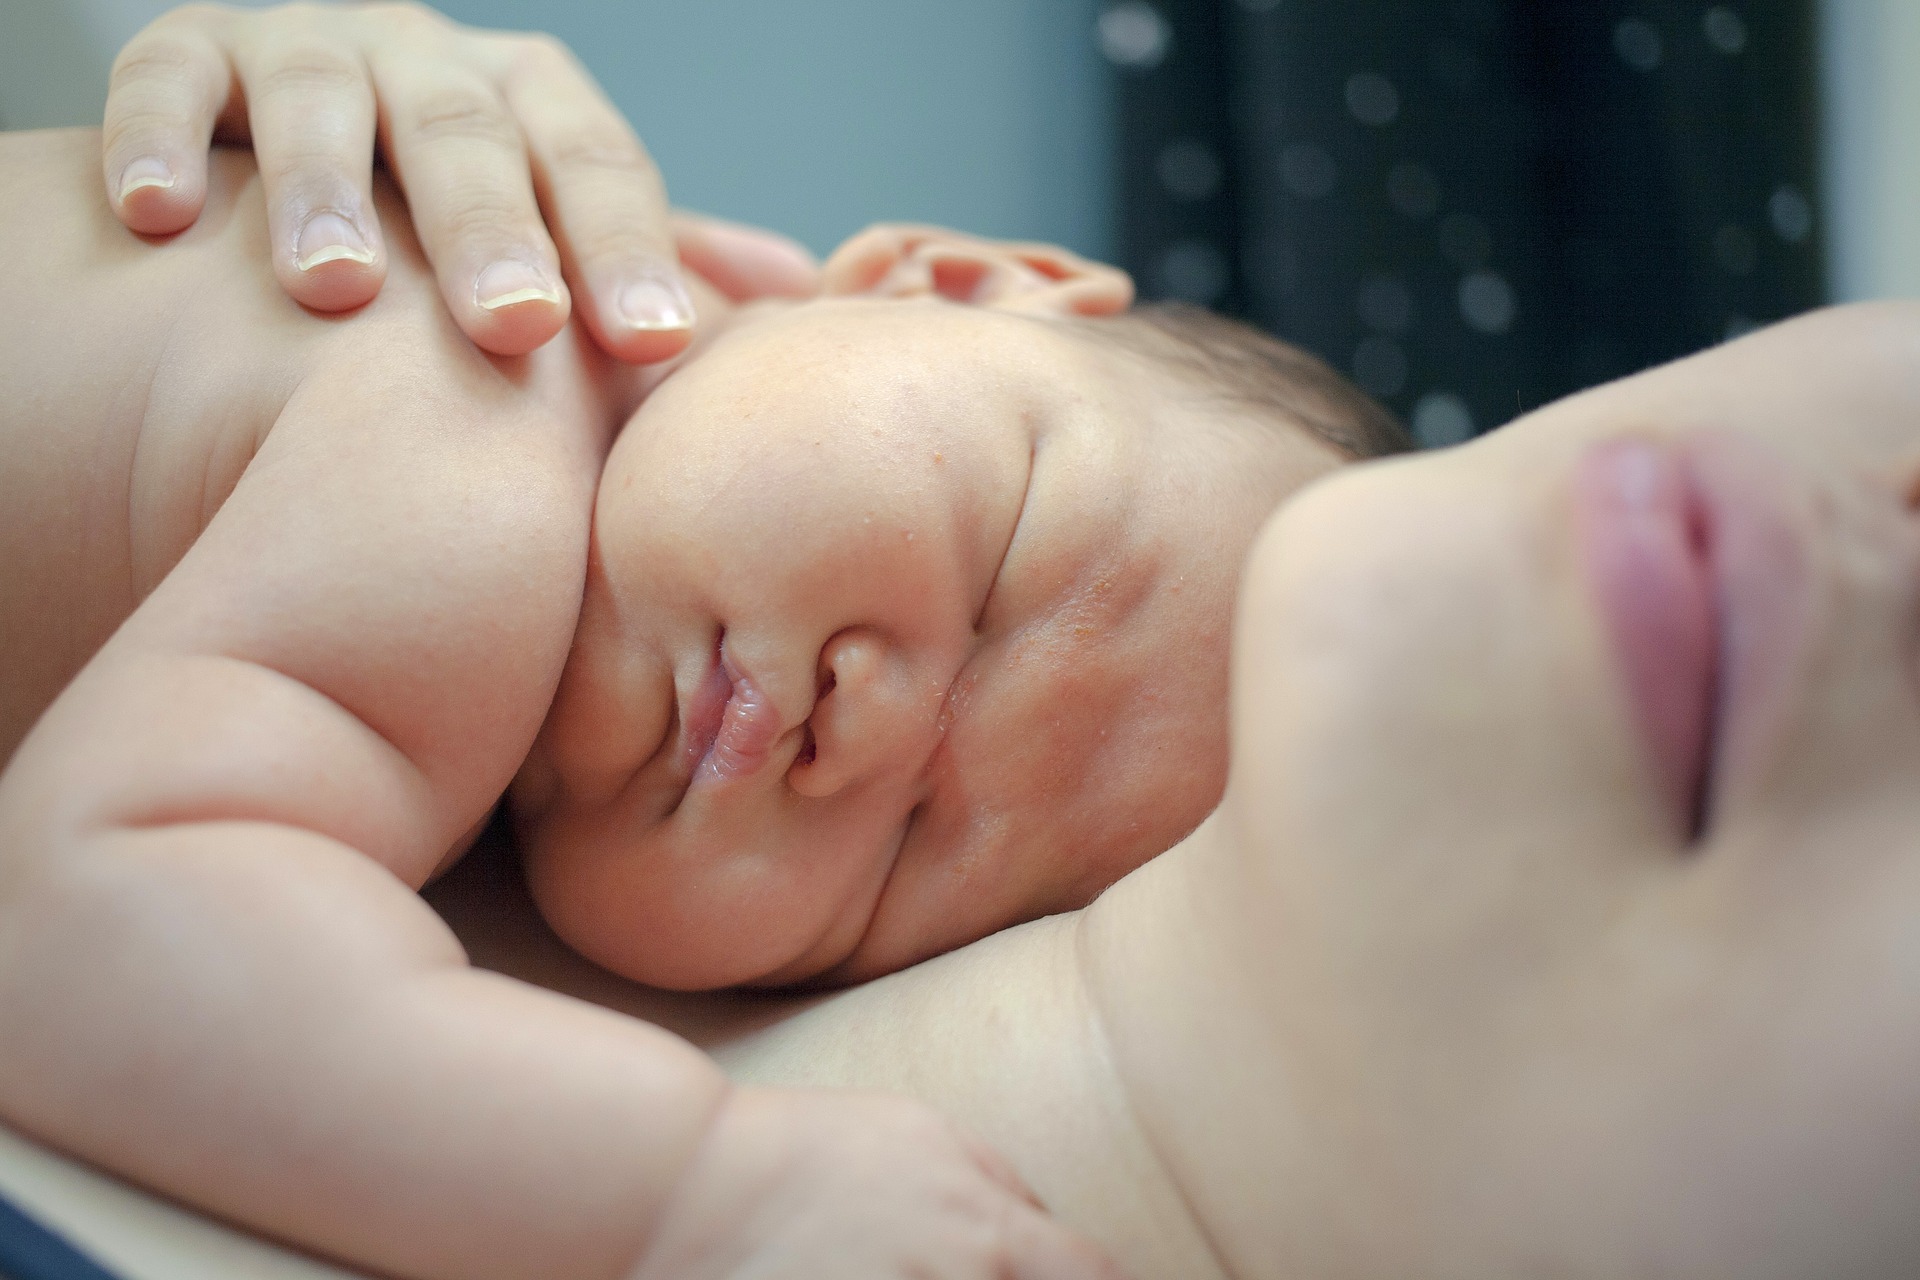
According to the CDC, During the first weeks of life it is important to protect your baby form germs and bacteria that may be around in the environment.
One of the best ways to do this is via sterilizing some baby essentials that are in contact with your baby and your milk, like the baby bottle, pacifier, breast shield and breast pump parts.
How often should I sterilize baby bottles?
When your baby is born and during the first 4 to 6 weeks of life, it is important to sterilize your baby bottles before the first use and after every use thereafter.
Some mothers prefer to wait until baby gets the first round of vaccinations to sterilize their baby bottles once a day or less often.
If your baby was born premature, or if you are concerned, we advise you contact your physician for advice relevant to your individual circumstances.
Some doctors advise their patients to sterilize their baby’s bottles after every use, whereas others are happy for you to do it once a day or even once a week.
The table below is a guide based on CDC (Centers for Disease Control and Prevention) advice on baby bottle sterilization.
This is not medical advice, so if you are concerned you should speak to your doctor regarding your own circumstances.
Once your new baby is born, the priority is for him or her to gain weight and by sanitizing your baby items you will help create a healthy environment and minimize exposure to nasty germs and bacteria.
| Baby’s Age | How often to sterilize baby bottles? | How often should bottles be cleaned? |
|---|---|---|
| 0 to 3 months | Sterilize baby feeding items daily or more often. | After each use. Germs can quickly grow if your baby bottles are not properly washed. |
| Babies born premature | ||
| Babies with weakened immune system due to illness (i.e. HIV) | ||
| Babies that required medical treatment for cancer | ||
| Babies 3 months and older | Daily sterilization may not be necessary if the feeding items are thoroughly cleaned after each use. |
The truth is that there are not set rules on sterilization of baby bottles. So, as a new mom you also need to do what it feels right for you and use the method that works for your family.
How to clean milk bottles?
Washing your baby bottles is an important step before sterilizing them.
Make sure you wash your hands first and rinse any bottle parts the sooner you can after use.
Wash your infant’s feeding items in a bowl or container that you use only for this purpose. Try not to wash your baby bottles directly on the sink, as it may contain germs.
Fill up the container with warm water and a dish soap to wash baby bottles. You can use a mild soap to wash baby bottles.
Finally, using a baby bottle brush, scrub the baby bottles thoroughly. The baby bottle brush should only be used for your baby’s bottles, and no other kitchen items.

Make sure you repeat the procedure on all the baby bottle parts, including nipples and rings. You ought to separate all baby bottle parts for better results.
Let your baby items air-dry by placing them on an unused paper towel or a designated baby bottle drying rack for your baby’s items. As a reminder, do not remove excess water with a paper towel as you could transfer bacteria and germs back into the sterilized baby bottles.
To finish, rinse the container you used and the baby bottle brush and let them air dry as well.
Once you have cleaned all your baby items, they are ready to be sterilized.
How to sterilize baby bottles and nipples?
There are many ways you can sanitize your baby items. In this feature we are going to go through each of them.
Dishwasher Sanitation
Microwave Sterilizers
Electric Steam Sanitation

Boiling Water Sterilization

UV Ray Sterilization
Chemical Sterilization
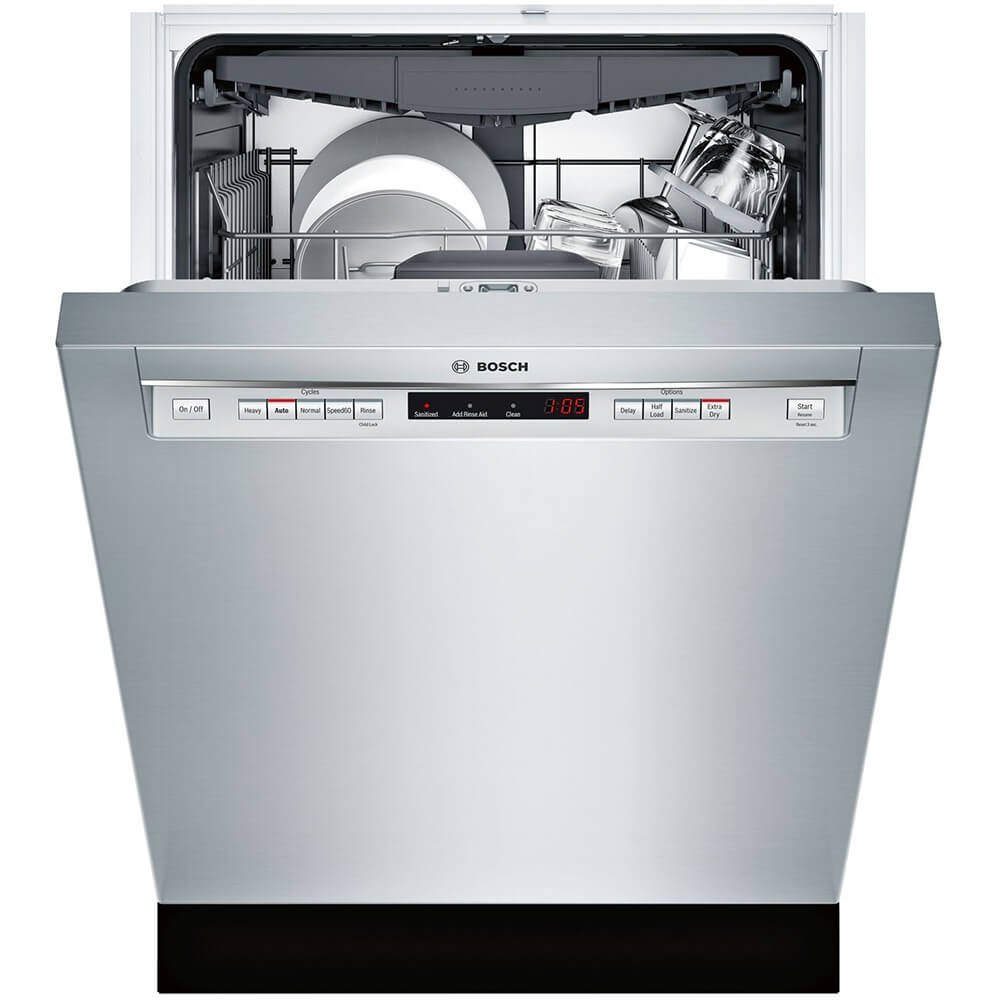
Sterilizing bottles in dishwasher
‘Can baby bottles go in the dishwasher?’ YES, they can!
Make sure you rinse your baby bottles after use with either warm or cold water. Then place them in the top part of your dishwasher.
For any small parts, like rings and nipples in a closed basket to prevent them from entering in the dishwasher filter.

Run the dishwasher using hot water or use the sanitizing setting, as it will help eliminate all germs.
Remember to wash your hands before manipulating your infant’s feeding items.
If everything is dry, you may store your items away. However, if they are not, let them out to dry on a drying rack or clean towel. Only store your feeding items when they are dry.
Do not hand dry with a paper towel, as you could transfer germs back into your baby’s bottles.
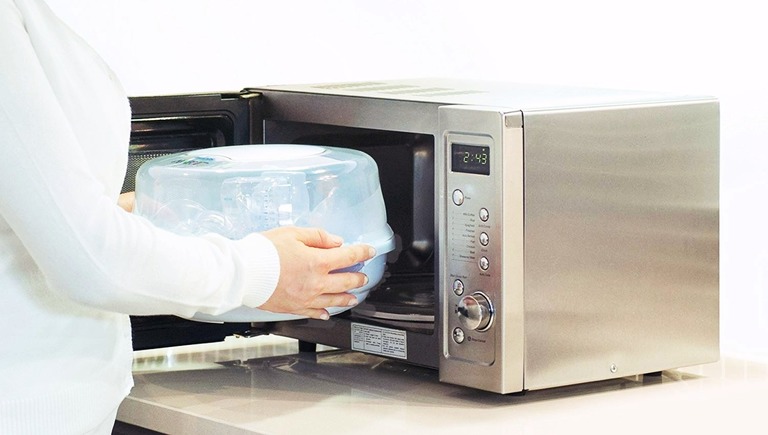
How to sterilize baby bottles in the microwave?
Steam Sterilization
Steam sterilization of baby bottles is one of the most used methods in sanitation. There are many ways in which you can do this: creating steam in the microwave or an electric sterilizer.
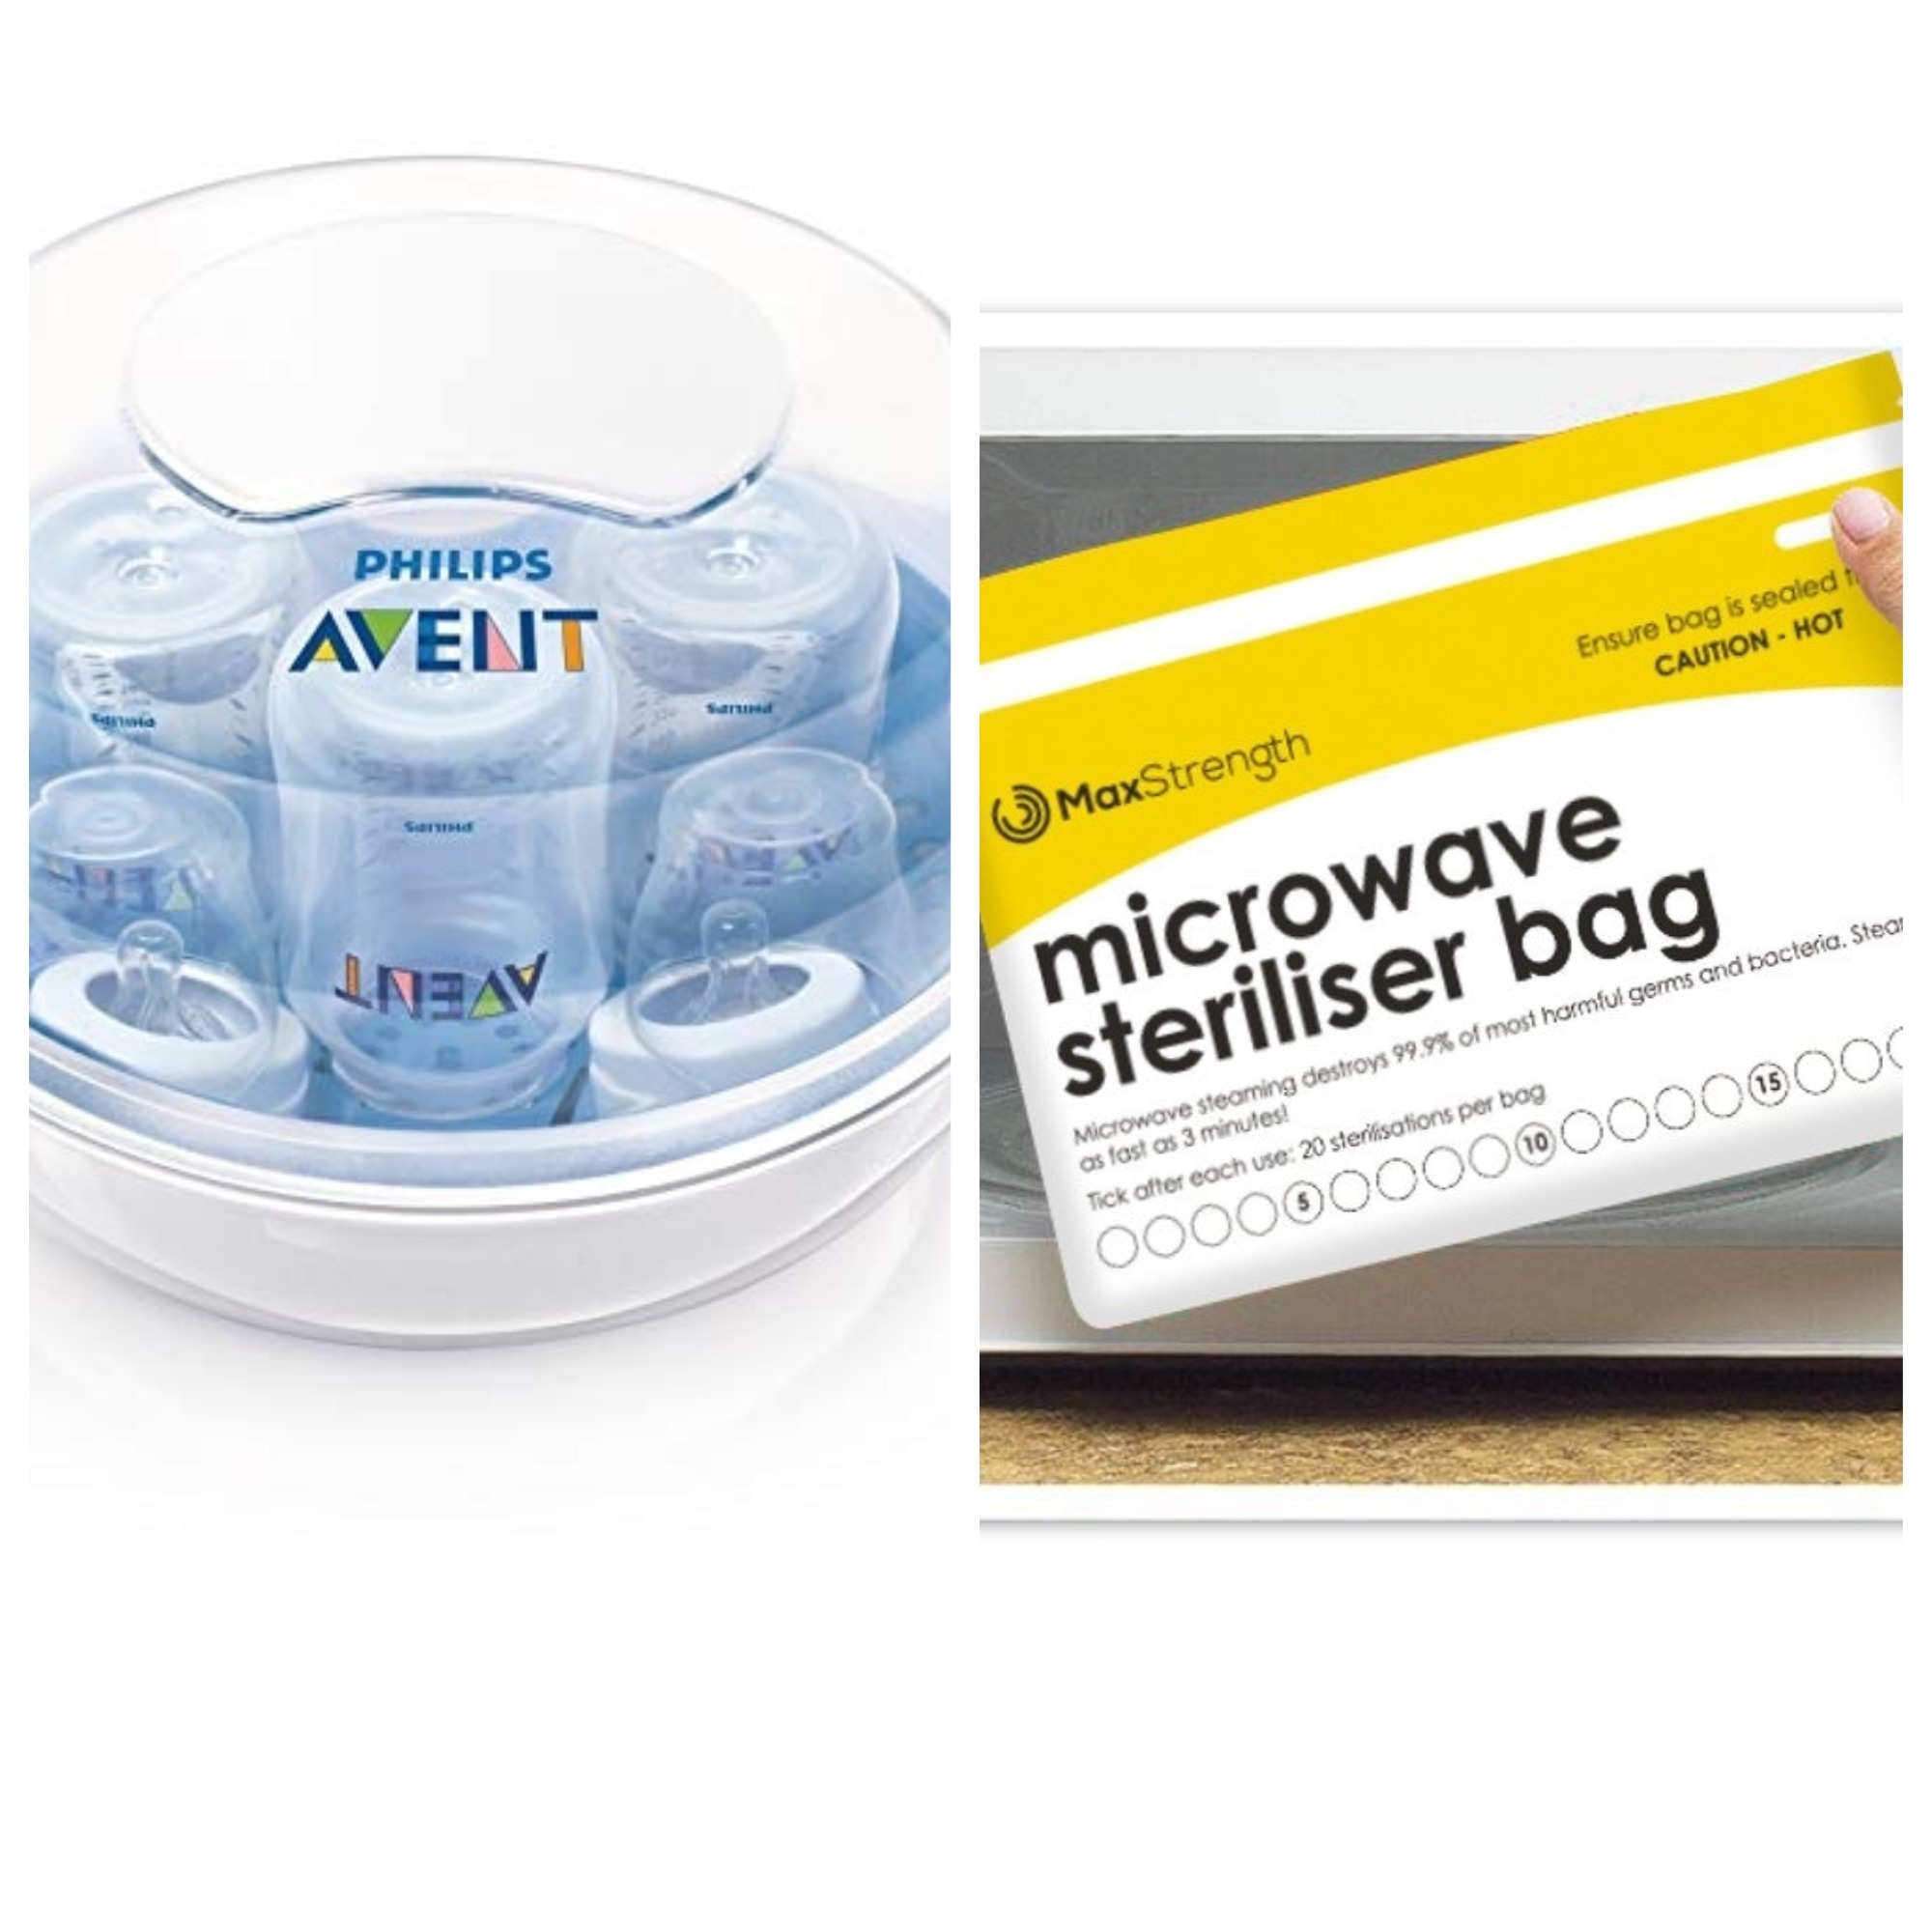
Microwave bottle sterilizer
A microwave sterilizer consists of a BPA-Free plastic container with a lid and an inner tray, designed to store baby bottles, pacifiers and nipples for steam sterilization.
The base of the microwave baby bottle sterilizer is filled with a small amount of water (which may vary from brand to brand).
Once you have placed water in the base of the container and placed the baby bottles on the tray, the lid needs to be closed and the sterilizer can go inside the microwave.
Advantages of a Microwave Bottle Sterilizer
A baby bottle microwave sterilizer is inexpensive vs. other steam sterilizers. You will need to have a microwave at home, which you probably already have for every day cooking. Hence, the only investment would be the microwave sterilizer.
Sterilizing baby bottles in the microwave is a fast way to have your baby items sanitized within minutes.
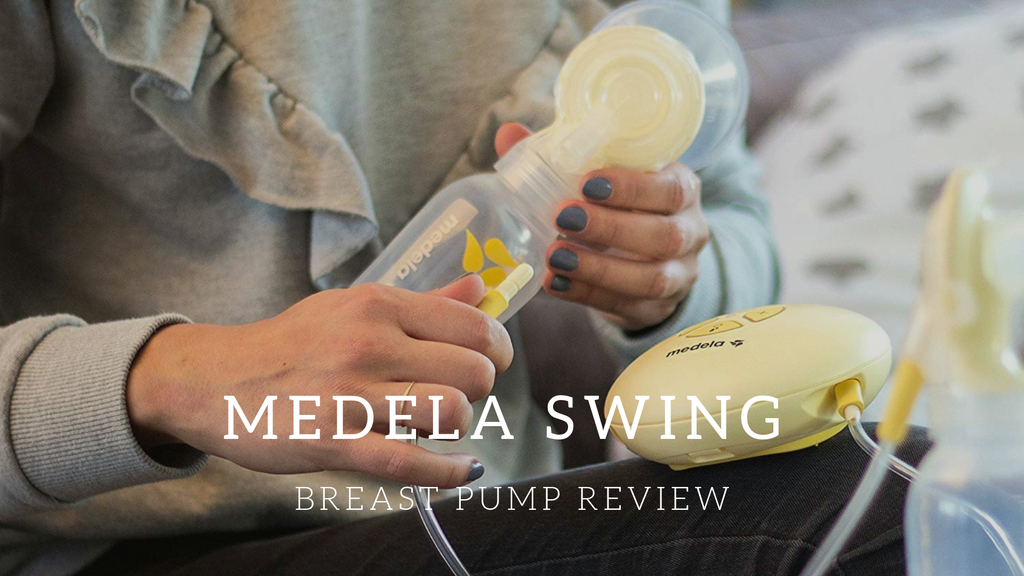
Any BPA-Free plastic baby item can be sterilized using a microwave steam sterilizer, including breast pump parts.
Before you sterilize bottles in the microwave…
Before you buy a microwave sterilizer, make sure that your selected model fits inside your microwave, as there are many sizes available.
Remember to ALWAYS put water in the microwave steam sterilizer container base before placing it in the microwave. Without water you could damage your baby items. This is very important, you could even have a sign on the door of their microwave as a reminder.
You need to be extra careful when manipulating a hot sterilizer out of the microwave. Always use a tea towel to protect your hands and keep your face away from the lid when you open it as you could get burned by the hot steam.
Be mindful of not buying a bad quality model that could end up melting your baby bottles over time.
A baby bottle microwave sterilizer is not suitable if your baby uses stainless steel baby bottles.
Microwave Sterilizer Bags

If you liked the idea to sterilize baby bottles in the microwave, steamer bags may be a good option to consider.
Steamer bags have a shorter use life than a conventional microwave steam sterilizer, but are still very practical if you need to sterilize bottles and are away from home, visiting Grandma for example.
Depending on the model, you can sterilize your baby items up to 20 times and require water to steam sterilize your baby items.
Sterilization time is fast. You could have your baby bottles sanitized in as little as 3 minutes.
If you use steam bags, you need to be extra careful when taking them out of the microwave as they are flimsy.
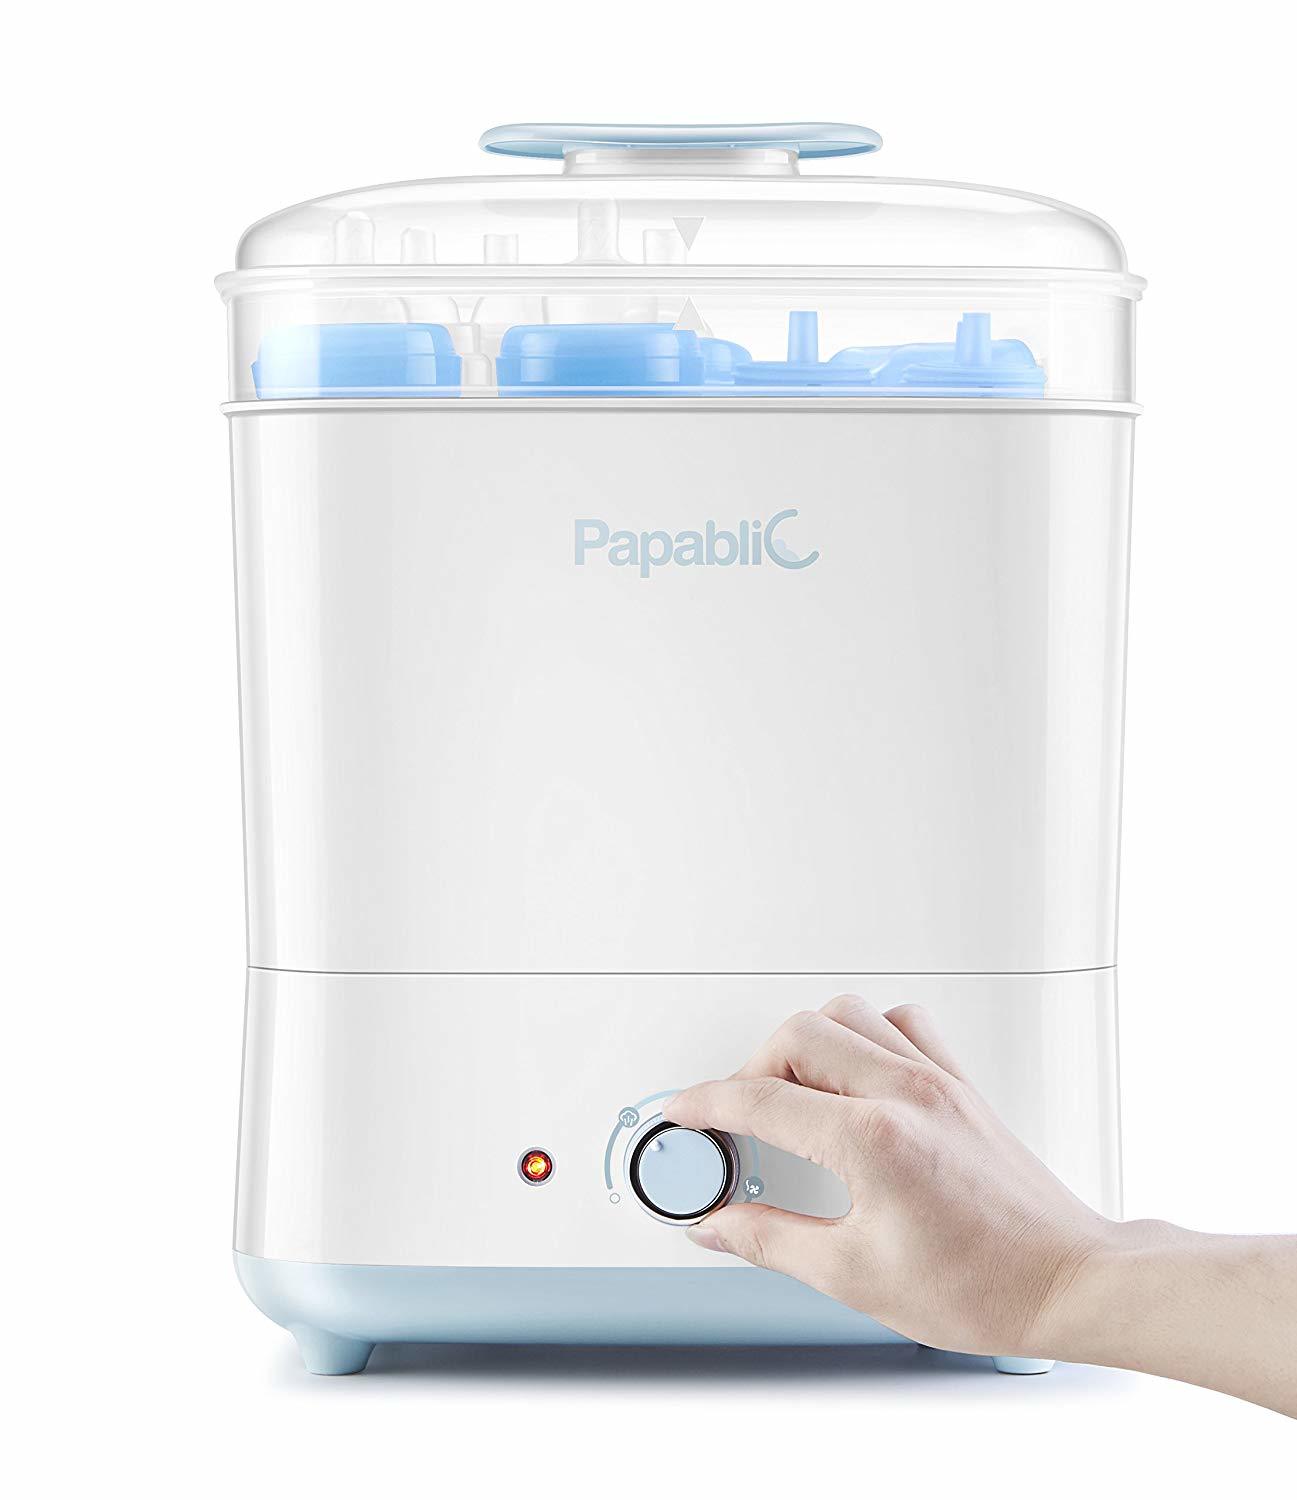
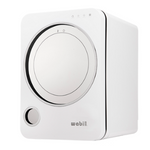
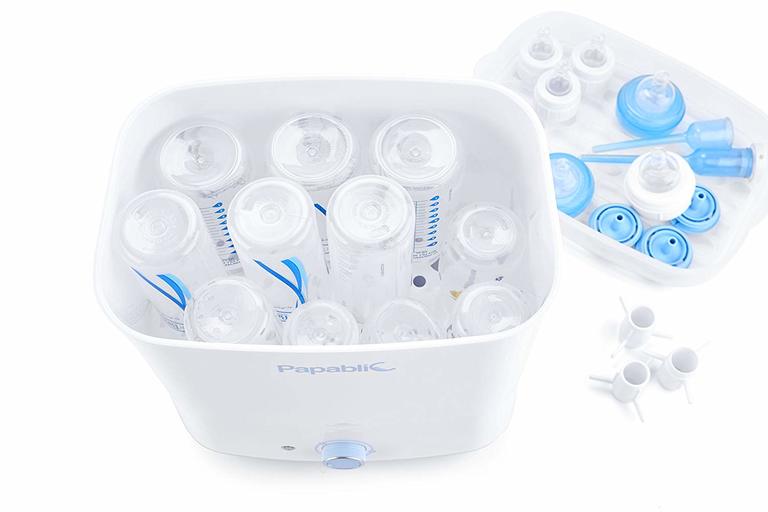
Electric Bottle Sterilizer
How to steam sterilize baby bottles?
An electric sterilizer is a very popular type of bottle sterilizer.
The electric steam sterilizer consists of a container with a lid and a water compartment. The amount of water may vary from one manufacturer to the other.
An electric steam sterilizer for baby bottles functions like a Microwave sterilizer but requires to be plugged to a power point.
The electric sterilizer features a timer and sanitizes baby bottles and other items within minutes. Once your bottles have been sterilized you may place them in a drying rack for air-drying.
Some of the best electric bottle sterilizer and latest models have a setting to dry your baby bottles.
If you don’t have one of these, air dry your bottles in a designated area in your kitchen maybe on clean paper towel or a baby bottle drying rack to prevent germs and bacteria from getting in contact with your sterilized items.
Electric sterilizers come in different shapes and sizes. Sterilization time may vary from one electric bottle sterilizer to another.
Advantages of electric baby sterilizers
Electric bottle sterilizers are easy to use.
They do not require of chemicals or anything in the water to operate.
Electric sterilizers are generally larger than microwave sterilizers, hence you can fit a larger number of items at once.
Disadvantages of electric bottle steamers
Some parents don’t like having an electric sterilizer or their kitchen bench as it does not have any other use and may take a considerable amount of bench space.
Sterilization takes at least 10 minutes time, which is much more than microwave sterilizers. If you require your bottles fast, a microwave sterilizer is superior.
Same as the microwave sanitizer, be careful when you open the lid to remove the baby bottles as you could get burned.
It is also recommended not to close the electric steam sterilizer lid when there is moisture inside the baby electric steam sterilizer, as mold and mildew could grow.
Boiling Water sterilization
How to sterilize baby bottles in boiling water?
A few generations ago, boiling was the best way to sterilize baby bottles.
Water didn’t use to be neither clean not reliable, and steam sterilizers and UV sterilizers did not exist.
Hence, the only option to keep baby items free from germs and bacteria was by boiling them.
How long to boil baby bottles?
Wash your baby bottles, nipples and rings first and once clean, place them in a large saucepan on the kitchen stove.
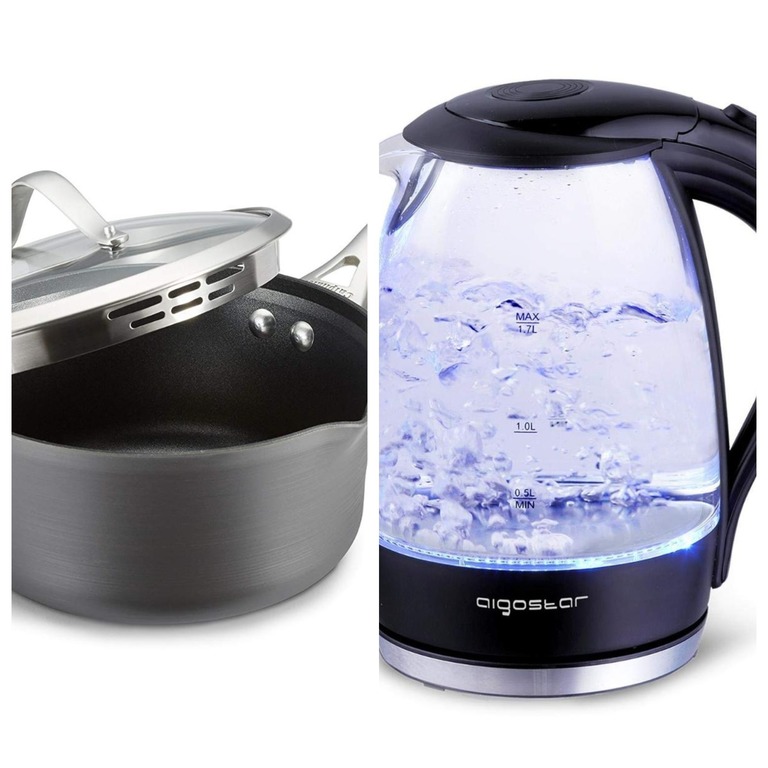
Water should level should be high enough to cover all the bottles. You can boil water first in an electric kettle if you own one and then pour the boiling water to the saucepan.
Turn the stove on and boil the baby bottles in a medium to low heat for about 5 minutes. That time will be enough to sterilize your baby bottles.
Remove the baby bottles from the saucepan using tongs and shake any excess water.
You can either use your baby bottle or let it air-dry until next use.
Advantages of using boiling water to sterilize baby bottles
Sterilizing your baby bottles using boiling water is almost inexpensive.
All you need is a large sauce pan, running water and a working stove.
Disadvantages of sterilizing items using boiling water
Boiling a large amount of water can be time consuming, especially when there is a large amount to be boiled.
To overcome this, you can use an electric kettle, though. Which can make the task of boiling water a bit faster.
Nonetheless, it is important not to leave your baby bottles unattended while they are sitting in boiling water.
A sauce pan full of boiling water can be dangerous to handle. Always use tea towels and lift the weight using both hands for more stability.

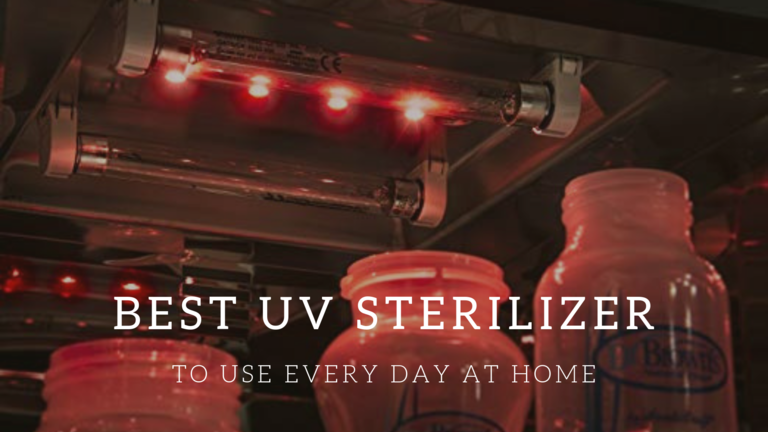
UV Ray Sterilization
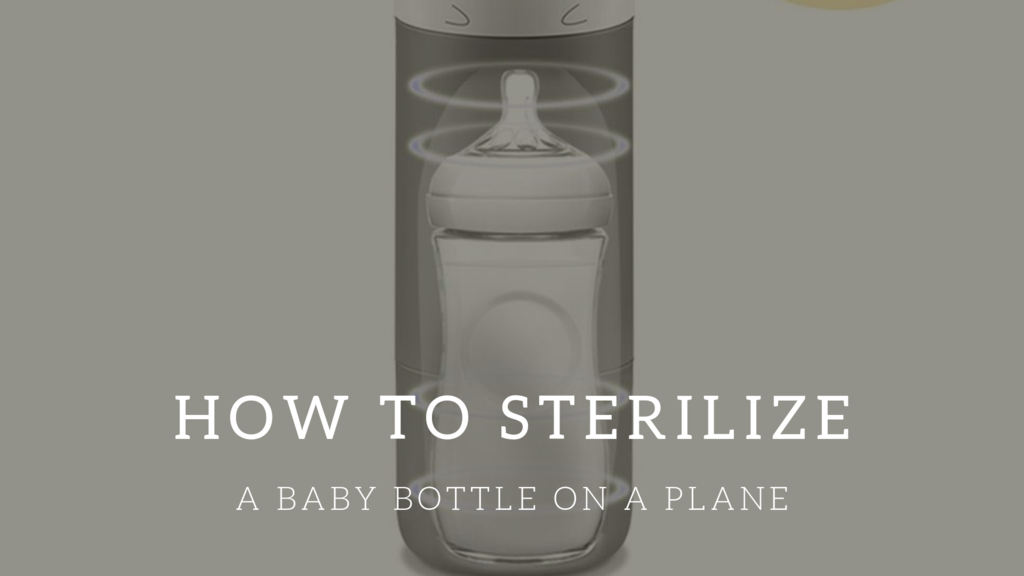
What is UV sterilizer?
Ultraviolet sanitizers are most common in hospitals and pharmacies. It is quite recent that a UV sterilizer can be used at home.
This technology is so advanced that there are some are portable UV light sterilization models which you can take with you wherever you go. Using a portable UV sterilizer, you can even sterilize a baby bottle on a plane!
How does a UV sterilizer work?
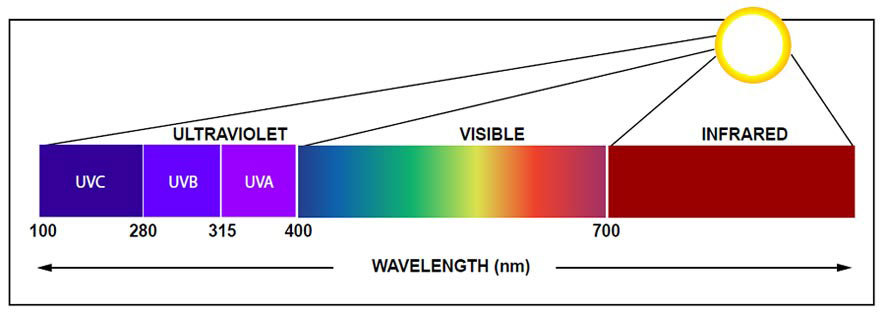
A UV bottle sterilizer is equipped with UV bulbs that irradiate low temperature UVC light.
The UVC wavelength of 100 to 280 nm (nanometres) is deadly and alters the chromosomes in bacteria. Hence, reproduction is stopped, and the cells ultimately die.
A commonly asked question is, ‘does UV light kill bacteria?’
UVC light is germicidal and can kill 99.9% of nasty germs and bacteria, without the need of any chemicals.
What does a UV sterilizer do?
When activated a baby UV sterilizer will use its UV light to kill germs and bacteria, with an efficiency of 99.9%.
A baby bottle sterilizer UV will also (depending on the bottle sterilizer UV model) dry your baby bottles so they are ready for the next time you need them.
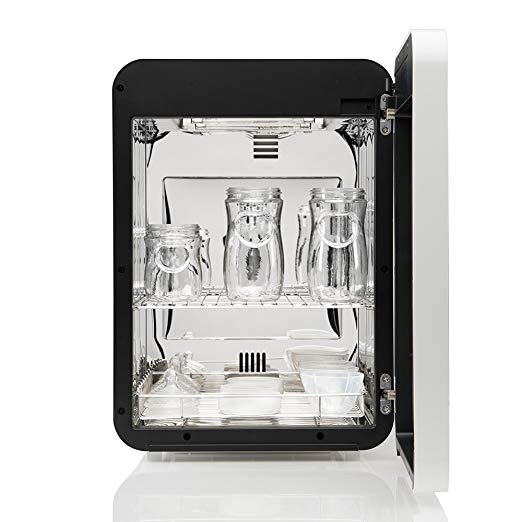
Advantages of Baby bottle UV Sterilizer
UV sterilizers are eco-friendly, as they can sanitize without any chemicals. Because UV bottle sterilizers irradiate UV rays in low temperature, they don’t consume much power (this may vary from one model to the next).
Baby bottle UV sanitizers are larger in size than a steam sterilizer, hence you can fit more items to sterilizer. Plus, nipples, rings and pacifiers.
UV baby bottle sanitizers are versatile. They can be used for baby bottle sterilization but also to sanitize toys, remotes, cellphones, car keys, sunglasses, make up tools and other accessories.
Apart from that, the UV light will not damage your items as it sterilizes items using low temperature.
Most baby bottle UV sanitizers feature an integrated setting to dry your baby bottles after sterilization. This is particularly useful, as you will not have to worry about air-drying your baby bottles.
Some UV sterilizers have a setting to keep your items sterilized throughout the day.
Some models are portable, which means you can now sterilize bottles on a plane, or when you go camping or are out and about.
Finally, UV sanitizers don’t have the problem of developing mildew and mold, as they don’t accumulate moisture.
Disadvantages of UV baby bottle Sterilizers
The greatest disadvantage of UV sterilizer for baby is the price. They are considerably more expensive than any steam sterilizer, with a price of approx. $200-$400.
However, portable UV sterilizers are cheap, that offsets this disadvantage a bit. But they are suitable only for sterilizing one bottle at a time.
UV sterilizers are larger in size than steam sterilizers, so make sure you measure the space on your kitchen bench before making a purchase.
Do I need a UV sterilizer?
A key factor to consider before going for a UV sanitizer for baby items is how many and how frequently you need to sterilize your baby bottles.
If you are mostly breastfeeding your baby, you may not need to sterilize many baby bottles.
However, if you are pumping milk or formula feeding your baby, it is highly likely that you will need many baby bottles at different times of the day.
In that case a UV sterilizer may make your life easier… but at a price, which is also a variable to consider.

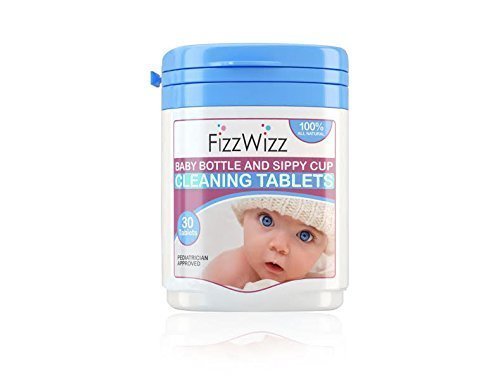
Chemical Sterilization
Cold Water Sanitizing Solution
Chemical sanitation consists of either tablets or a liquid solution that are diluted in water to sterilize baby items.
How to sterilize milk bottles using a chemical solution?
The instructions of use may vary from one manufacturer to the other. However, this is roughly it works:
- Clean your baby bottles thoroughly
- Add water in a container. Take care in measuring the amount required by the solution instructions.
- Dilute the tablet or add the chemical solution in the water
- Place your baby bottles in the container and submerge them. Ensure that all parts of the baby bottles are covered with water.
- Let the solution act for the time recommended by the packaging instructions (this time is normally 30 minutes)
- Once the time is up, remove the baby bottles from the solution and let them air dry
- Do not rinse them under water, as you would wash out the solution which protects the baby bottles from germs.
Here is an example from Bottle Bright
Advantages of Cleaning tablets for baby bottles
Sterilizing Tablets are easy to take with you if you need to travel, or sterilize bottles while you are away from home, in a hotel room for example. But remember to take a large container with you to make sterilization more efficient.
The solution can be used multiple times throughout the day. You would normally need to dispose it after 24 hours of use (see manufacturer’s instructions).
Disadvantages of tablets to sterilize baby bottles
Some parents don’t like the idea of exposing their baby items to chemicals and prefer other methods of sterilization.
However, chemical sterilization is safe, and it is broadly used in hospitals. Plus, there are plenty of natural products on the market.
If you are travelling with bottle sterilizing tablets, they will take literally no space from your luggage.
When using some tablet brands, you may need to prepare a large amount of solution each time (minimum 1 to 2 liters), regardless of the amount of baby bottles you need to sanitize. For example the Milton sterilizing tablets.
There are some brands that sell sterilization tablets for baby bottles to clean one bottle at a time. This could become more expensive is you use many of those.


How do you to sterilize baby bottles? Tips and Recommendations
Make sure your baby bottles are clean after every use.
This will extend the life of your baby bottles and help you wash them easily.
Make sure you follow the sterilizer manufacturer’s instructions thoroughly to achieve the best results. After all, sanitation is supposed to protect your baby from germs and bacteria. So, do it the best you can.
How to dry baby bottles after sterilizing?
You can safely leave your baby bottles to air-dry on the kitchen bench over a clean towel or on a piece of paper towel.
It can also be a good idea to use a baby bottle drying rack for your sterilized baby items.
Never dry your baby bottles with a tea towel or paper towel to remove moisture, as you could bring germs to your newly sterilized baby bottles.
How to store baby bottles after being sterilized?
You can store your baby bottles once they are dry in the cupboard or cabinet.
Store them with the bottom down to prevent the rim from touching with the shelf.
Try to have the rings and nipples in the bottles, so that you just grab the full set when you need it and don’t need to fish the cabinet for other baby bottle parts. This is only to make it easier for you.
If you follow the advice above, make sure your bottles are completely dry, to prevent mold from accumulating inside your baby bottles.
If you don’t use your baby bottles within the next 24 hours, you may sterilize your baby bottles again. This will depend on how old your baby is and other circumstances, as highlighted at the start of this feature.
How many baby bottles do I need?
The amount of baby bottles you will need, may vary from 2 to 12 baby bottles.
If you will be mainly breastfeeding your baby and occasionally giving a bottle, you may be ok with just 2.
For moms that are mainly bottle feeding their babies, either formula or breast milk, a larger amount of baby bottles will be required.
Try to think of these factors before choosing your best bottle sterilizer. How many items do you think you are going to need to sterilize daily?
Consider pacifiers, teething toys and breast pump parts also when you think of the question above.
When can you stop sterilizing baby bottles?
It is recommended you sterilize your baby bottles before the first use.
According to the CDC, bottle sterilization is necessary for young babies put to 3 months old, premature babies or babies that need medication.
After that you can sterilize your baby bottles once a day or less often.
Have you enjoyed this feature? Leave us a comment!
And keep reading related articles. Cheers!